
To assign remotes to people within an organization, we start by navigating to the "Trigger store" page from the side menu - ORGANISATION > TRIGGER STORE.

.
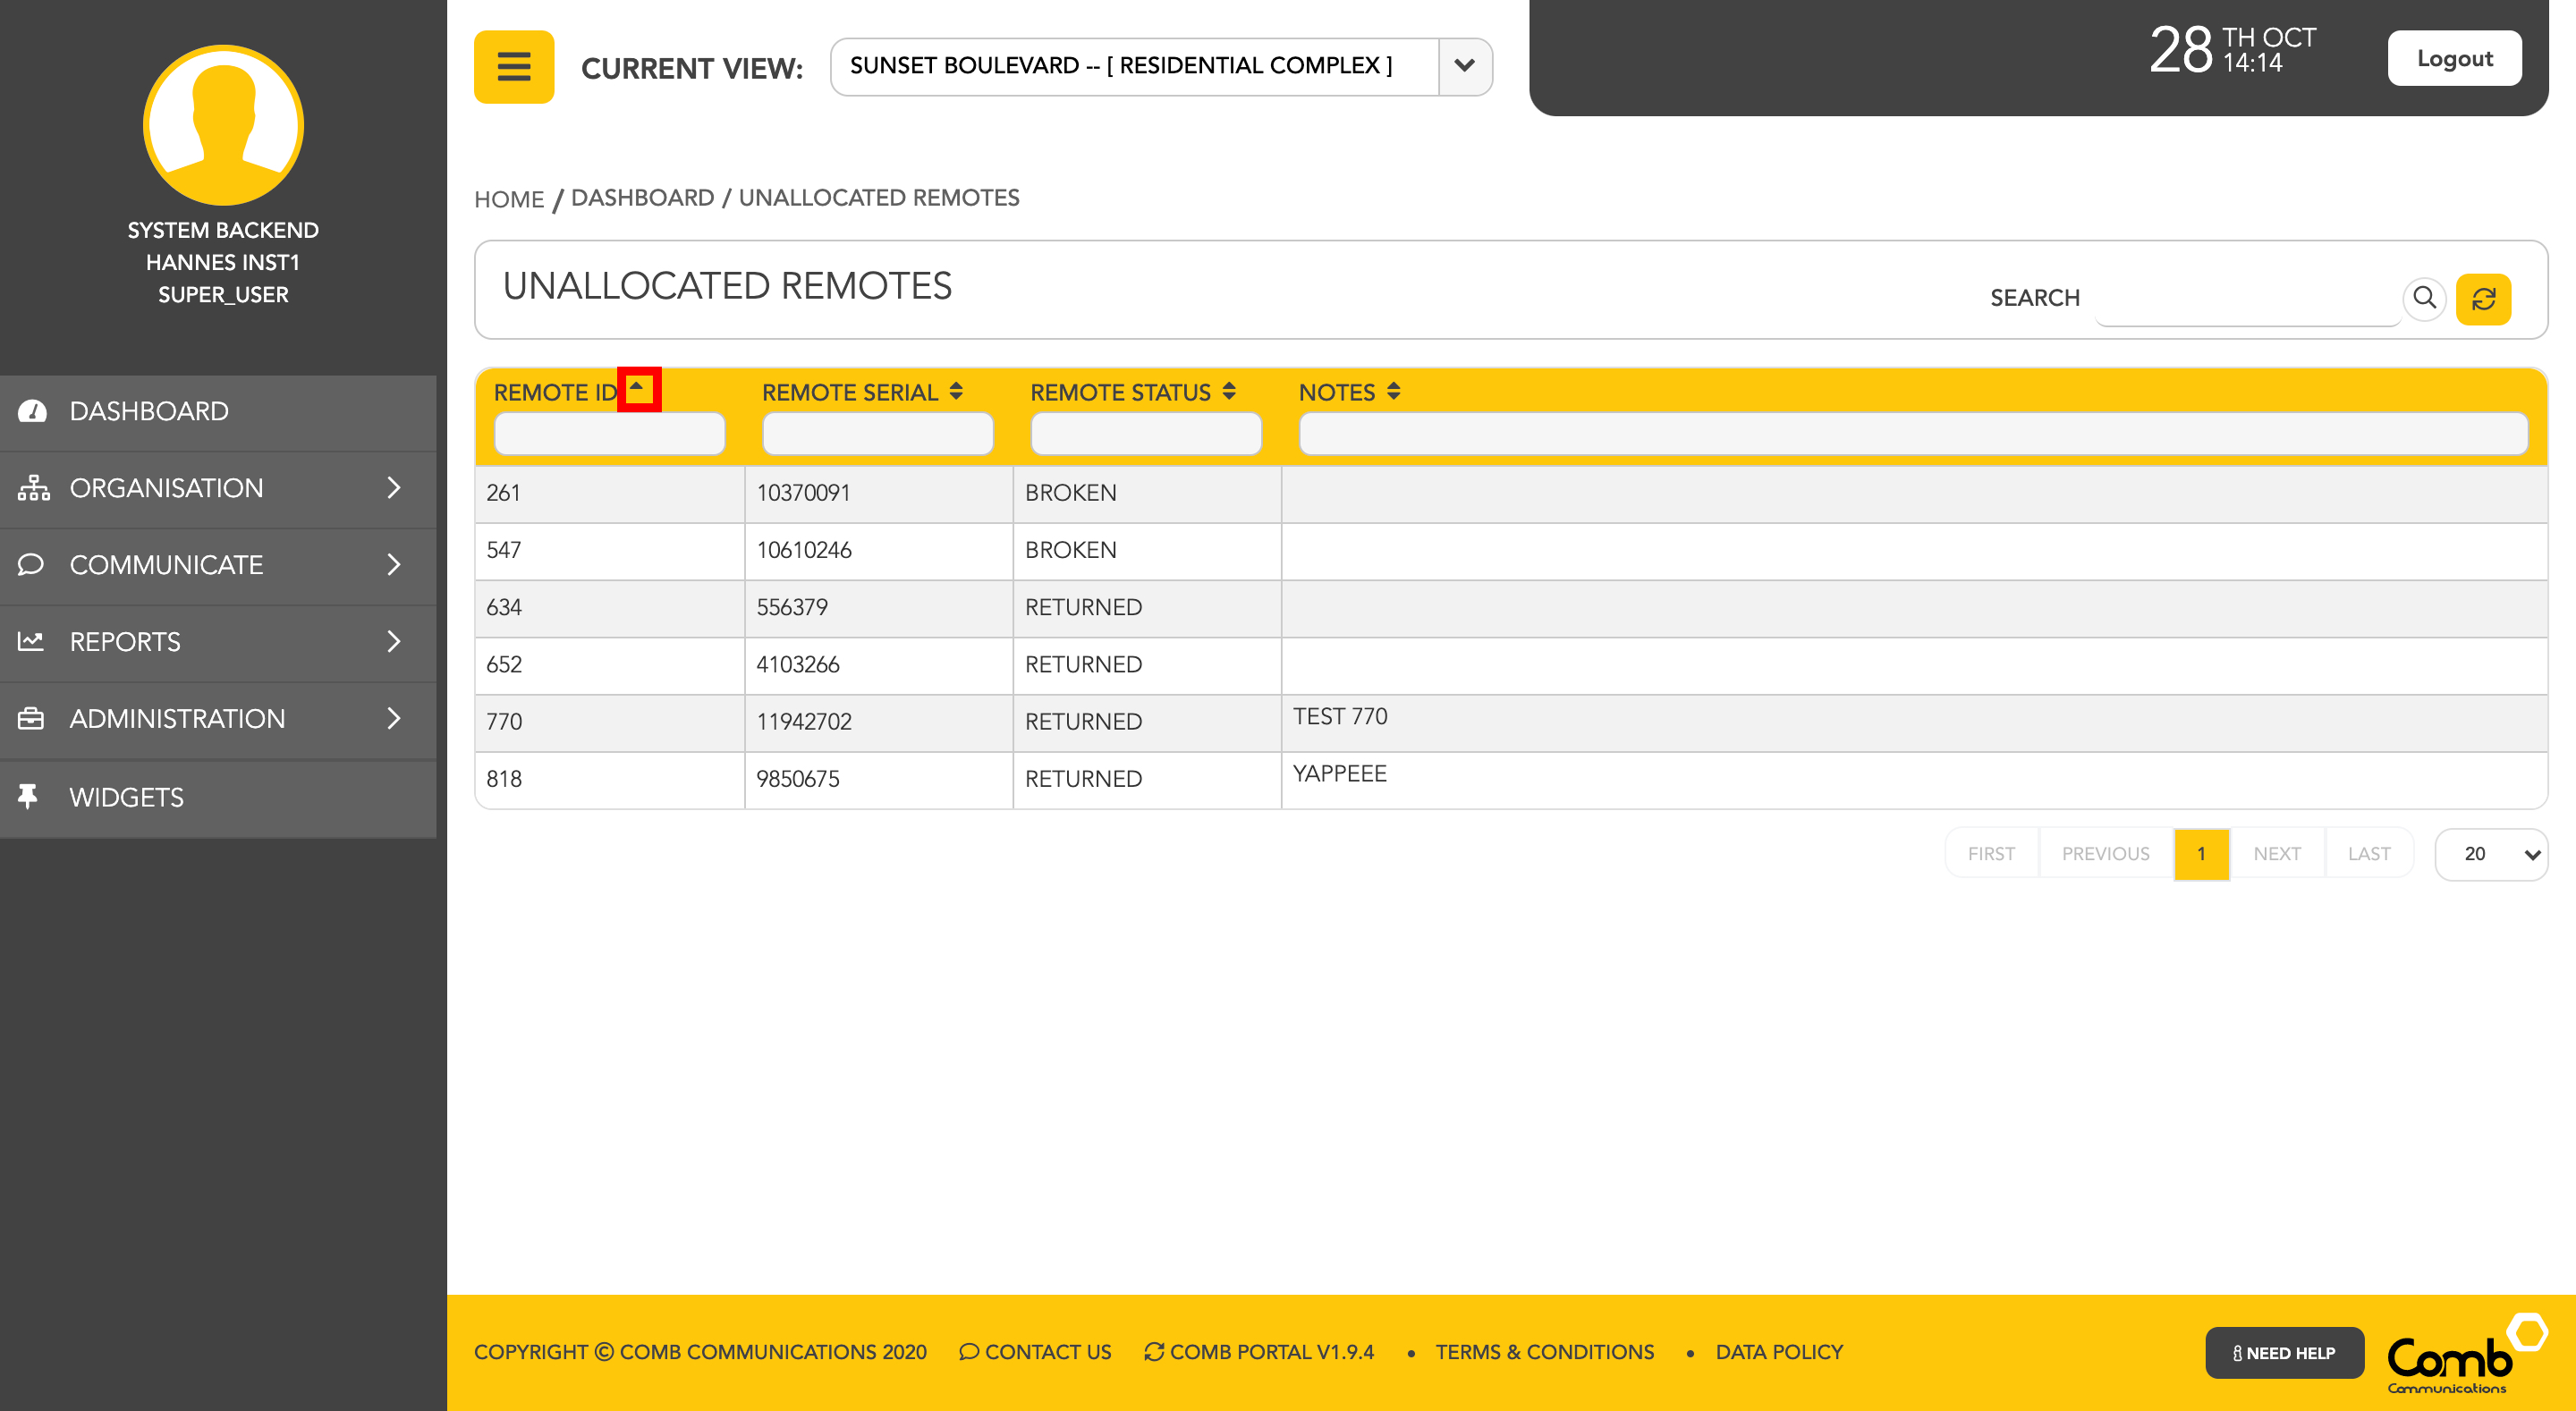
1: Users can filter the "UNALLOCATED REMOTES" by searching in a column or by clicking the sort icon to easily find the remote they wish to assign.

.
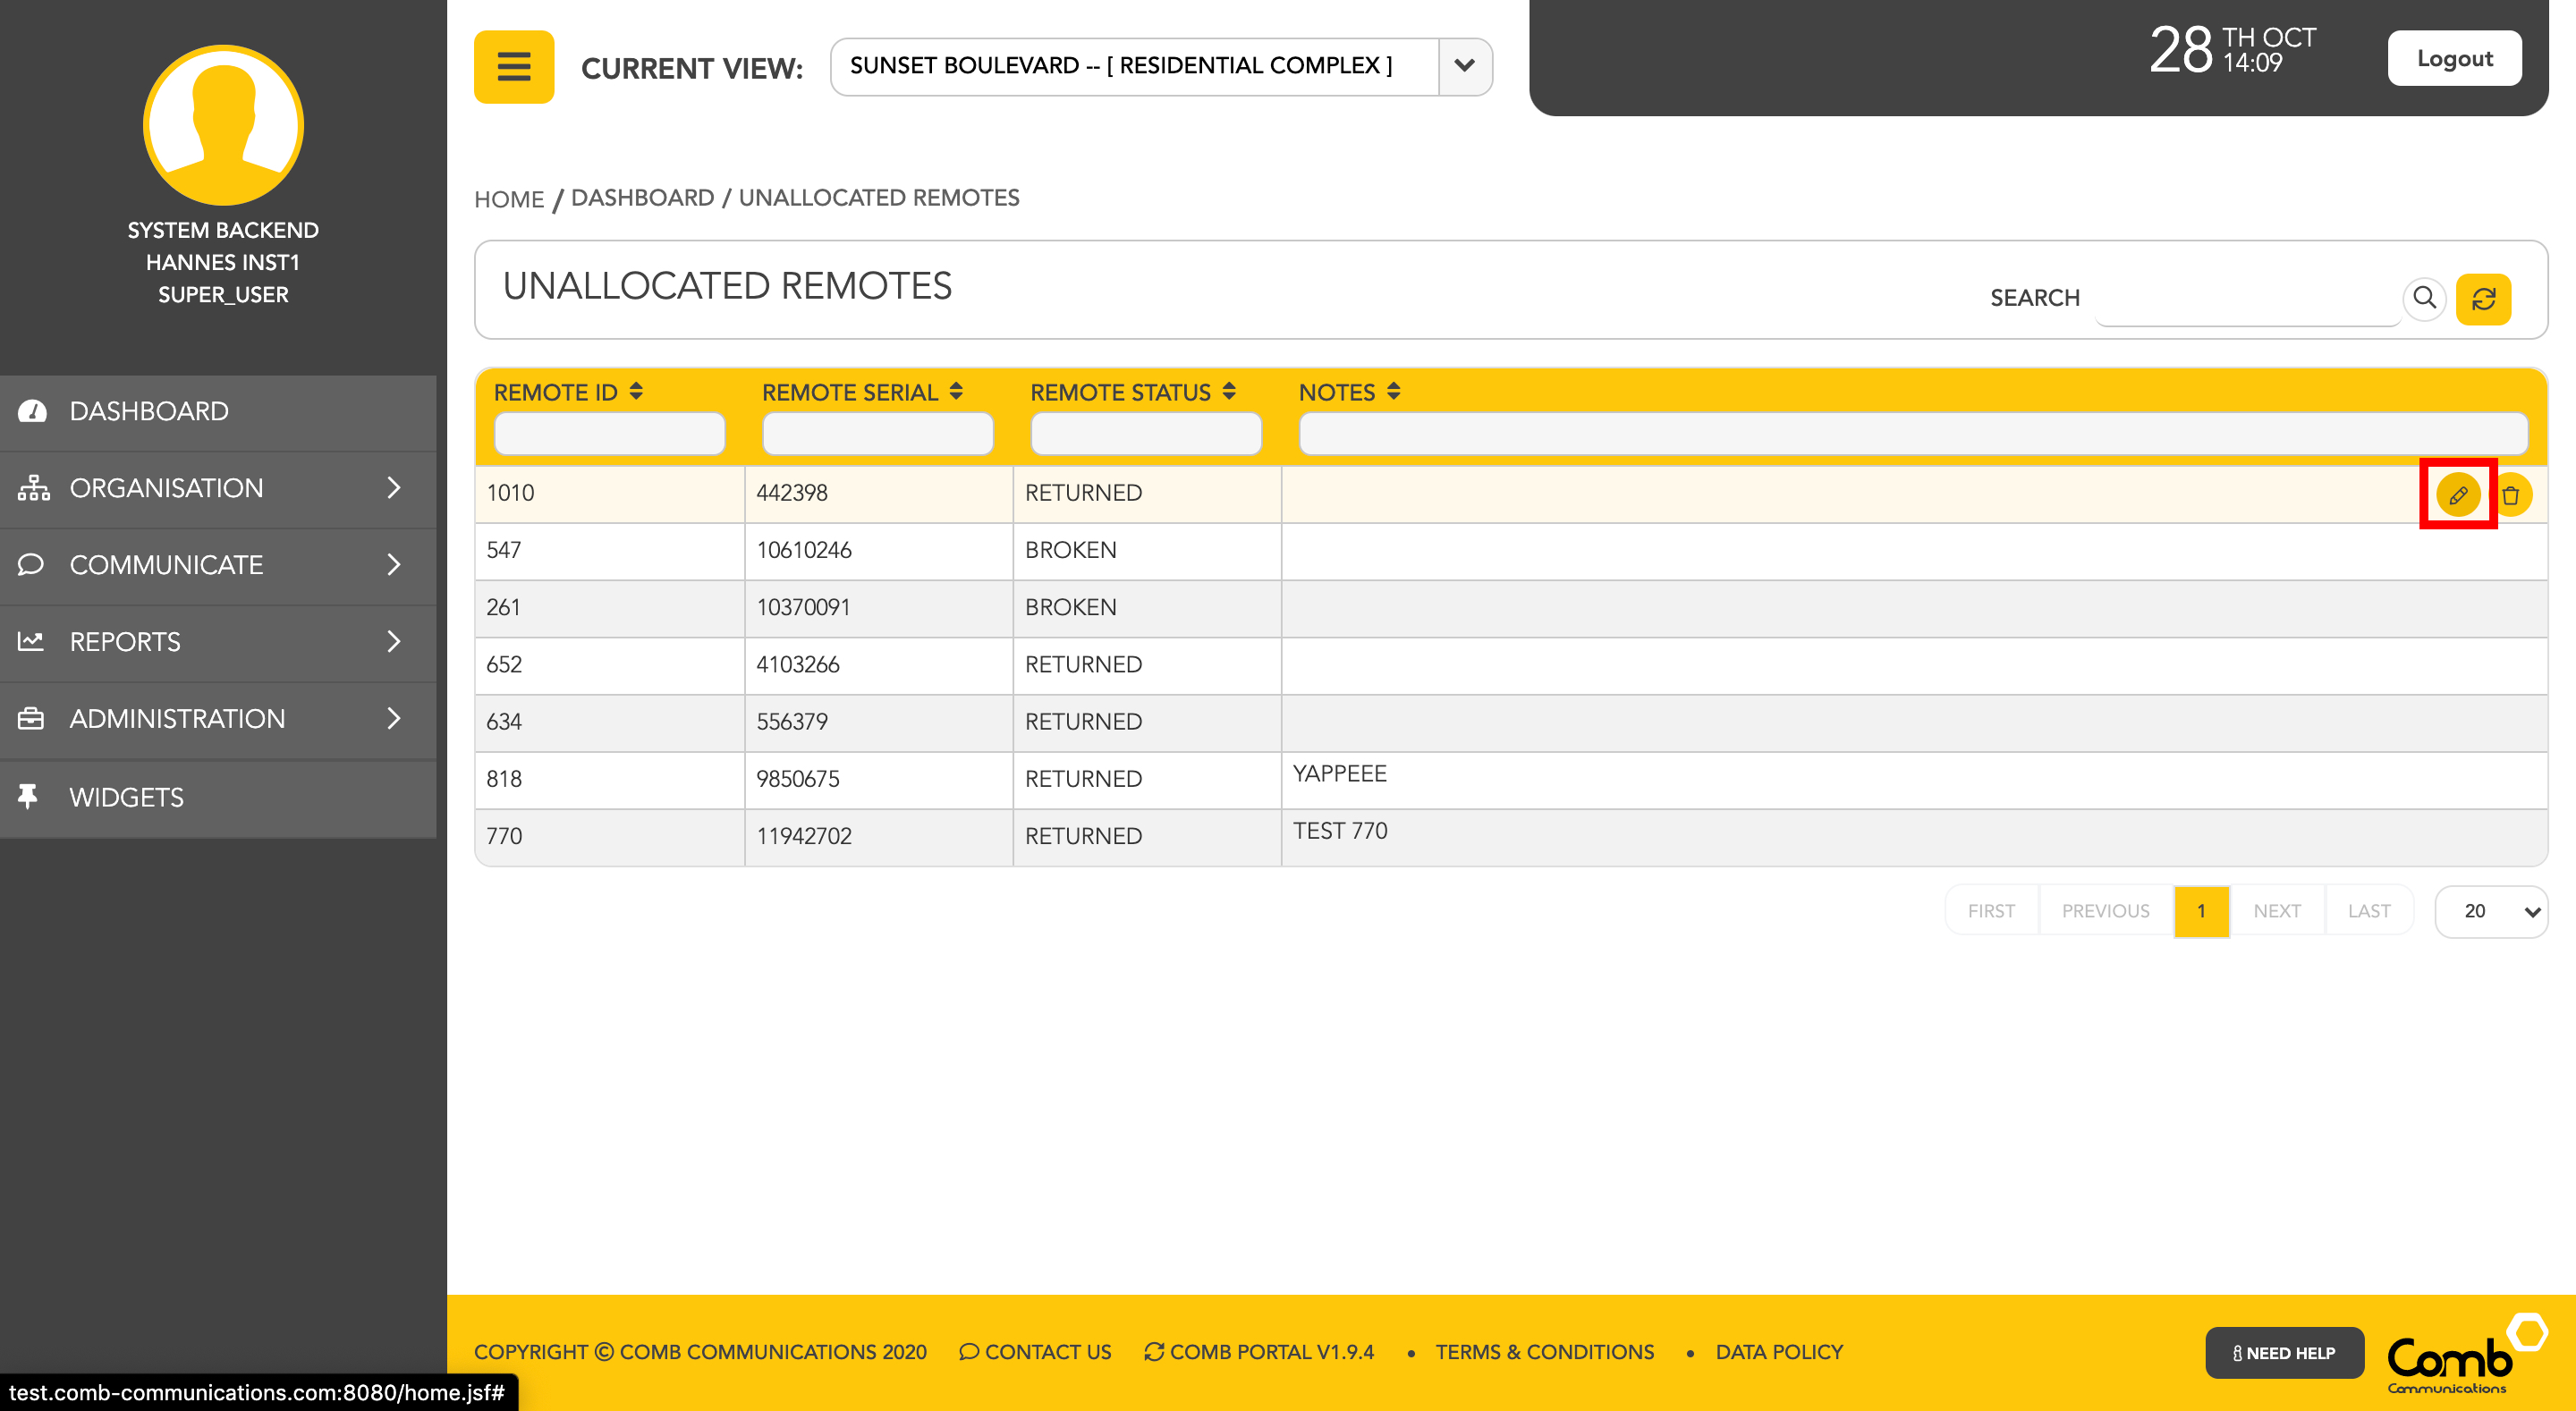
2: Once the intended remote has been located, the user can hover over the remote row to reveal the edit and delete buttons as indicated below. Click the edit button to navigate to the "Reassign remote" page.
.
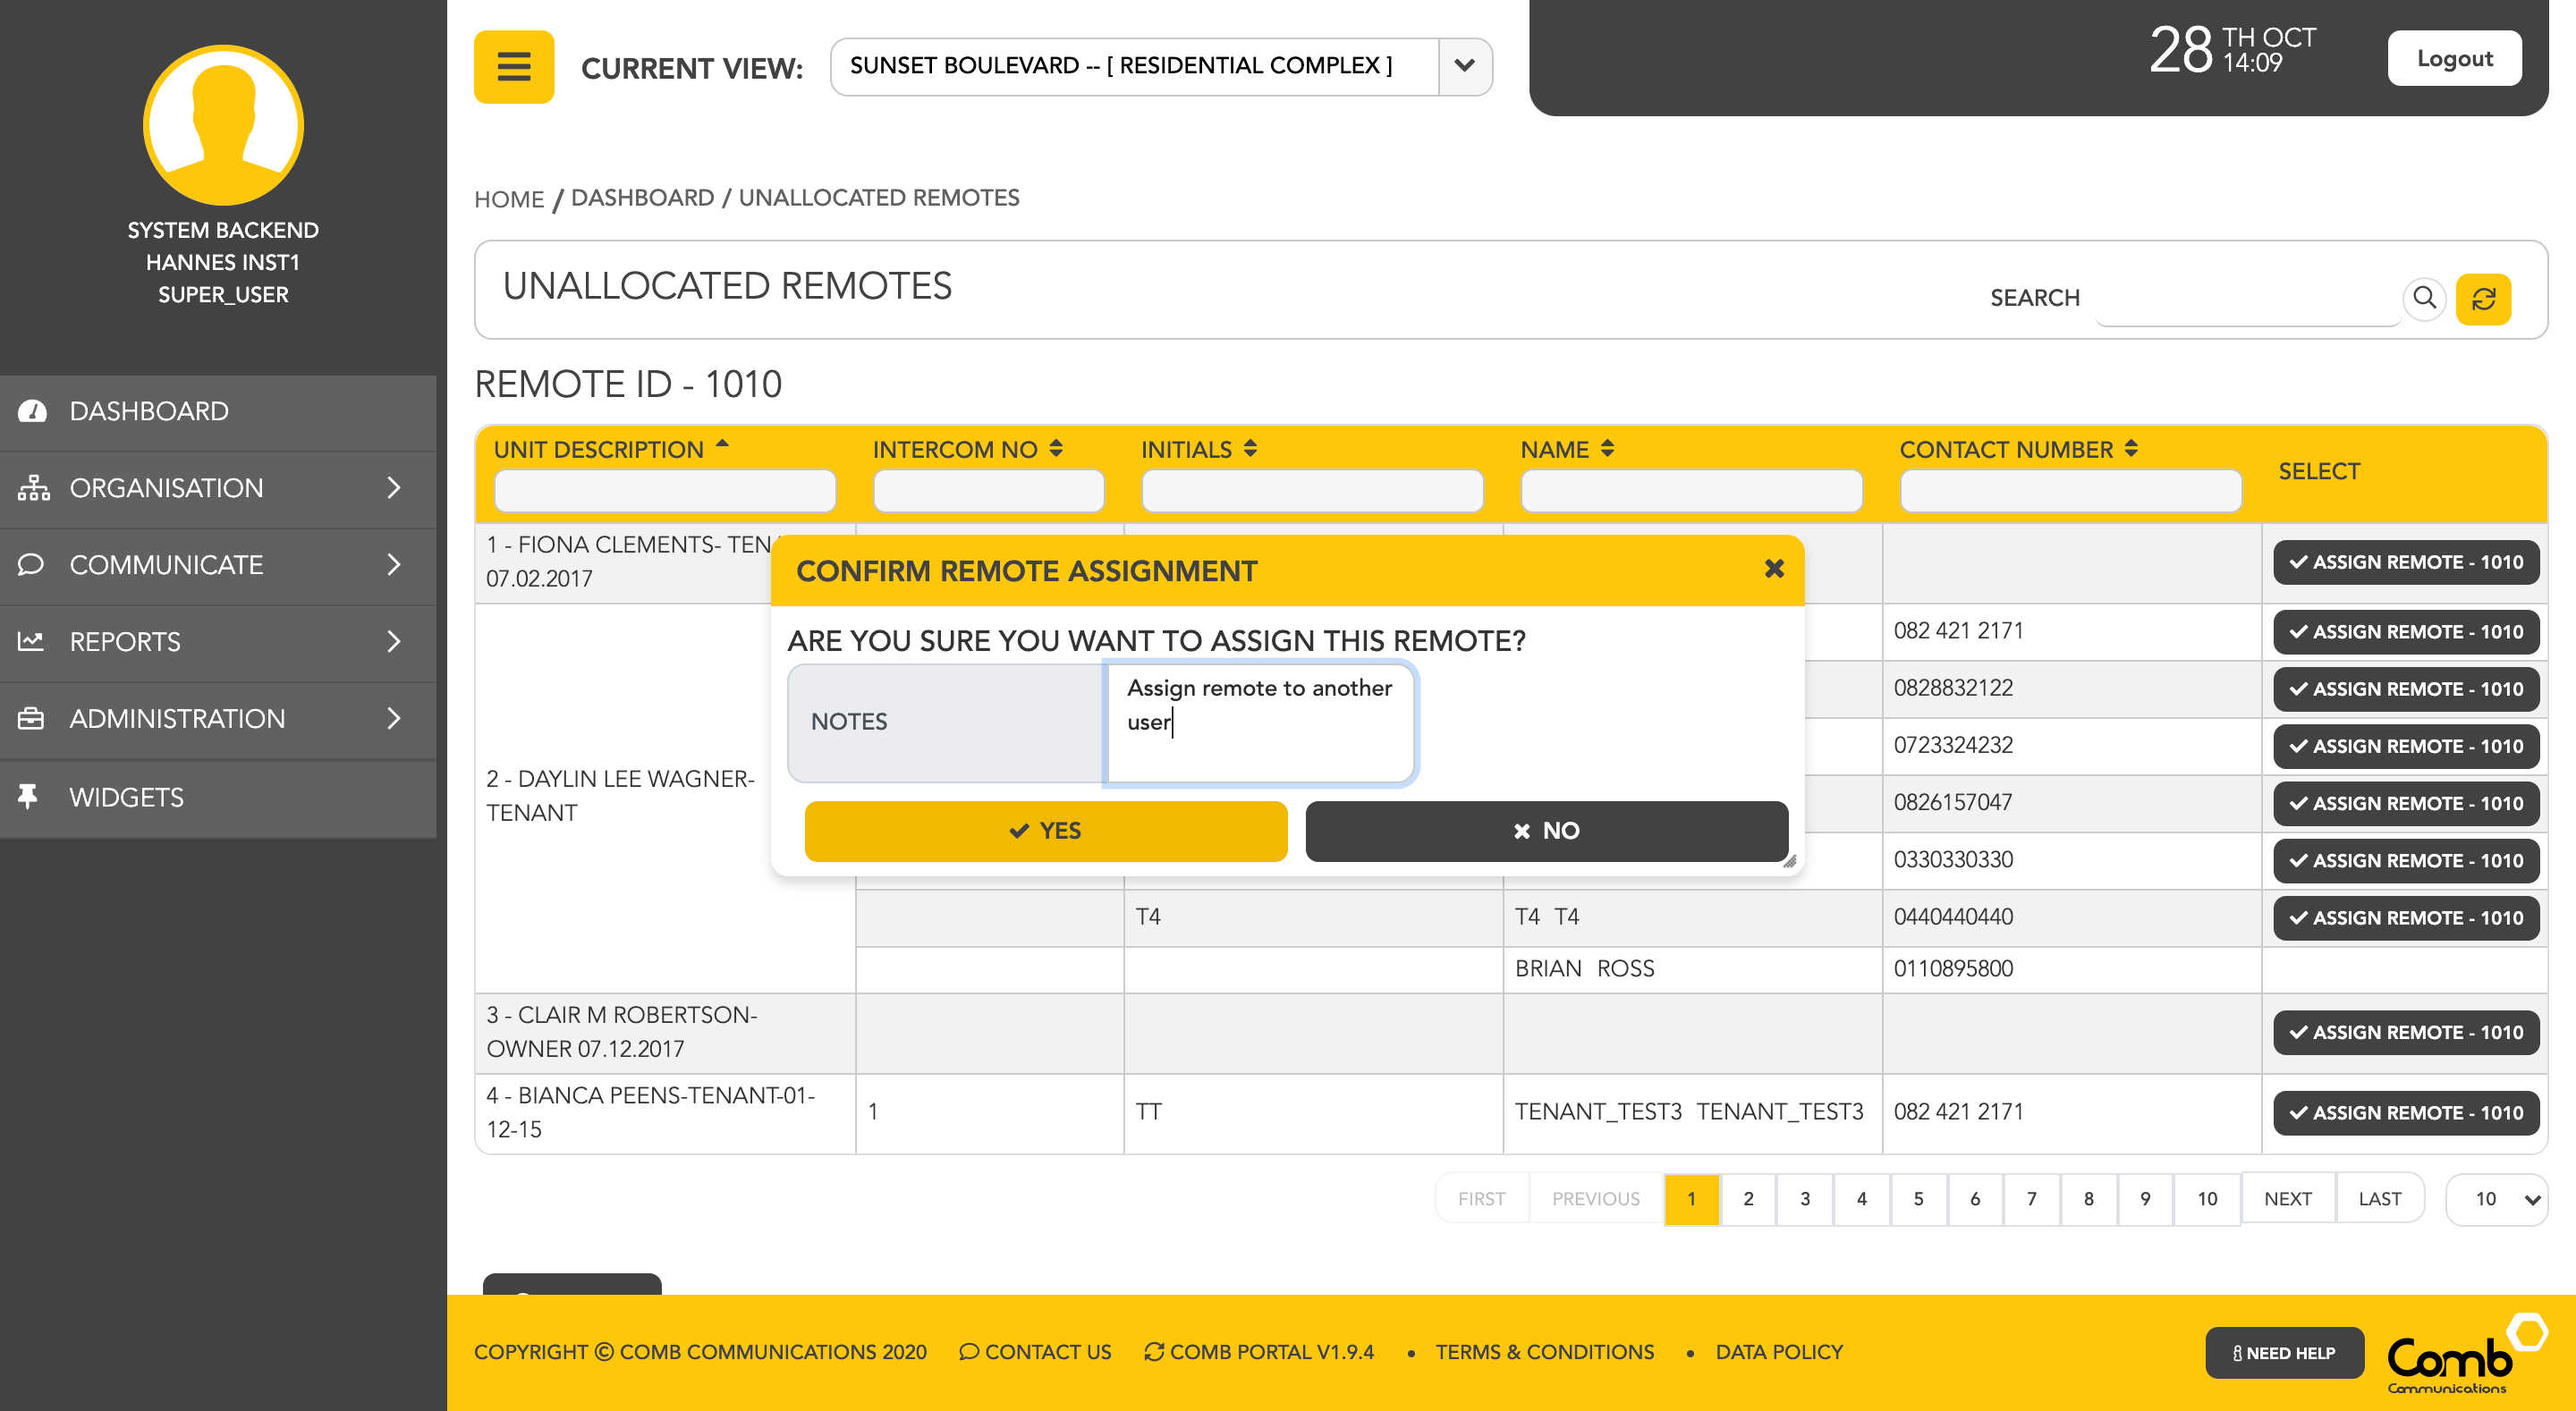
3: The user will be directed to a page that displays other people that are registered to the same organisation. Filter through and find the person you would like to assign the remote to and click the "ASSIGN REMOTE" button.

.
4: A confirmation pop-up will open, where the user can enter any notes regarding the assignment (optional). Once happy, click the "YES" button to confirm and assign the remote to the selected user.
.
5: The remote will be assigned to the selected user. You will be redirected to the Trigger store and the remote will be removed from the "UNALLOCATED REMOTES" list.
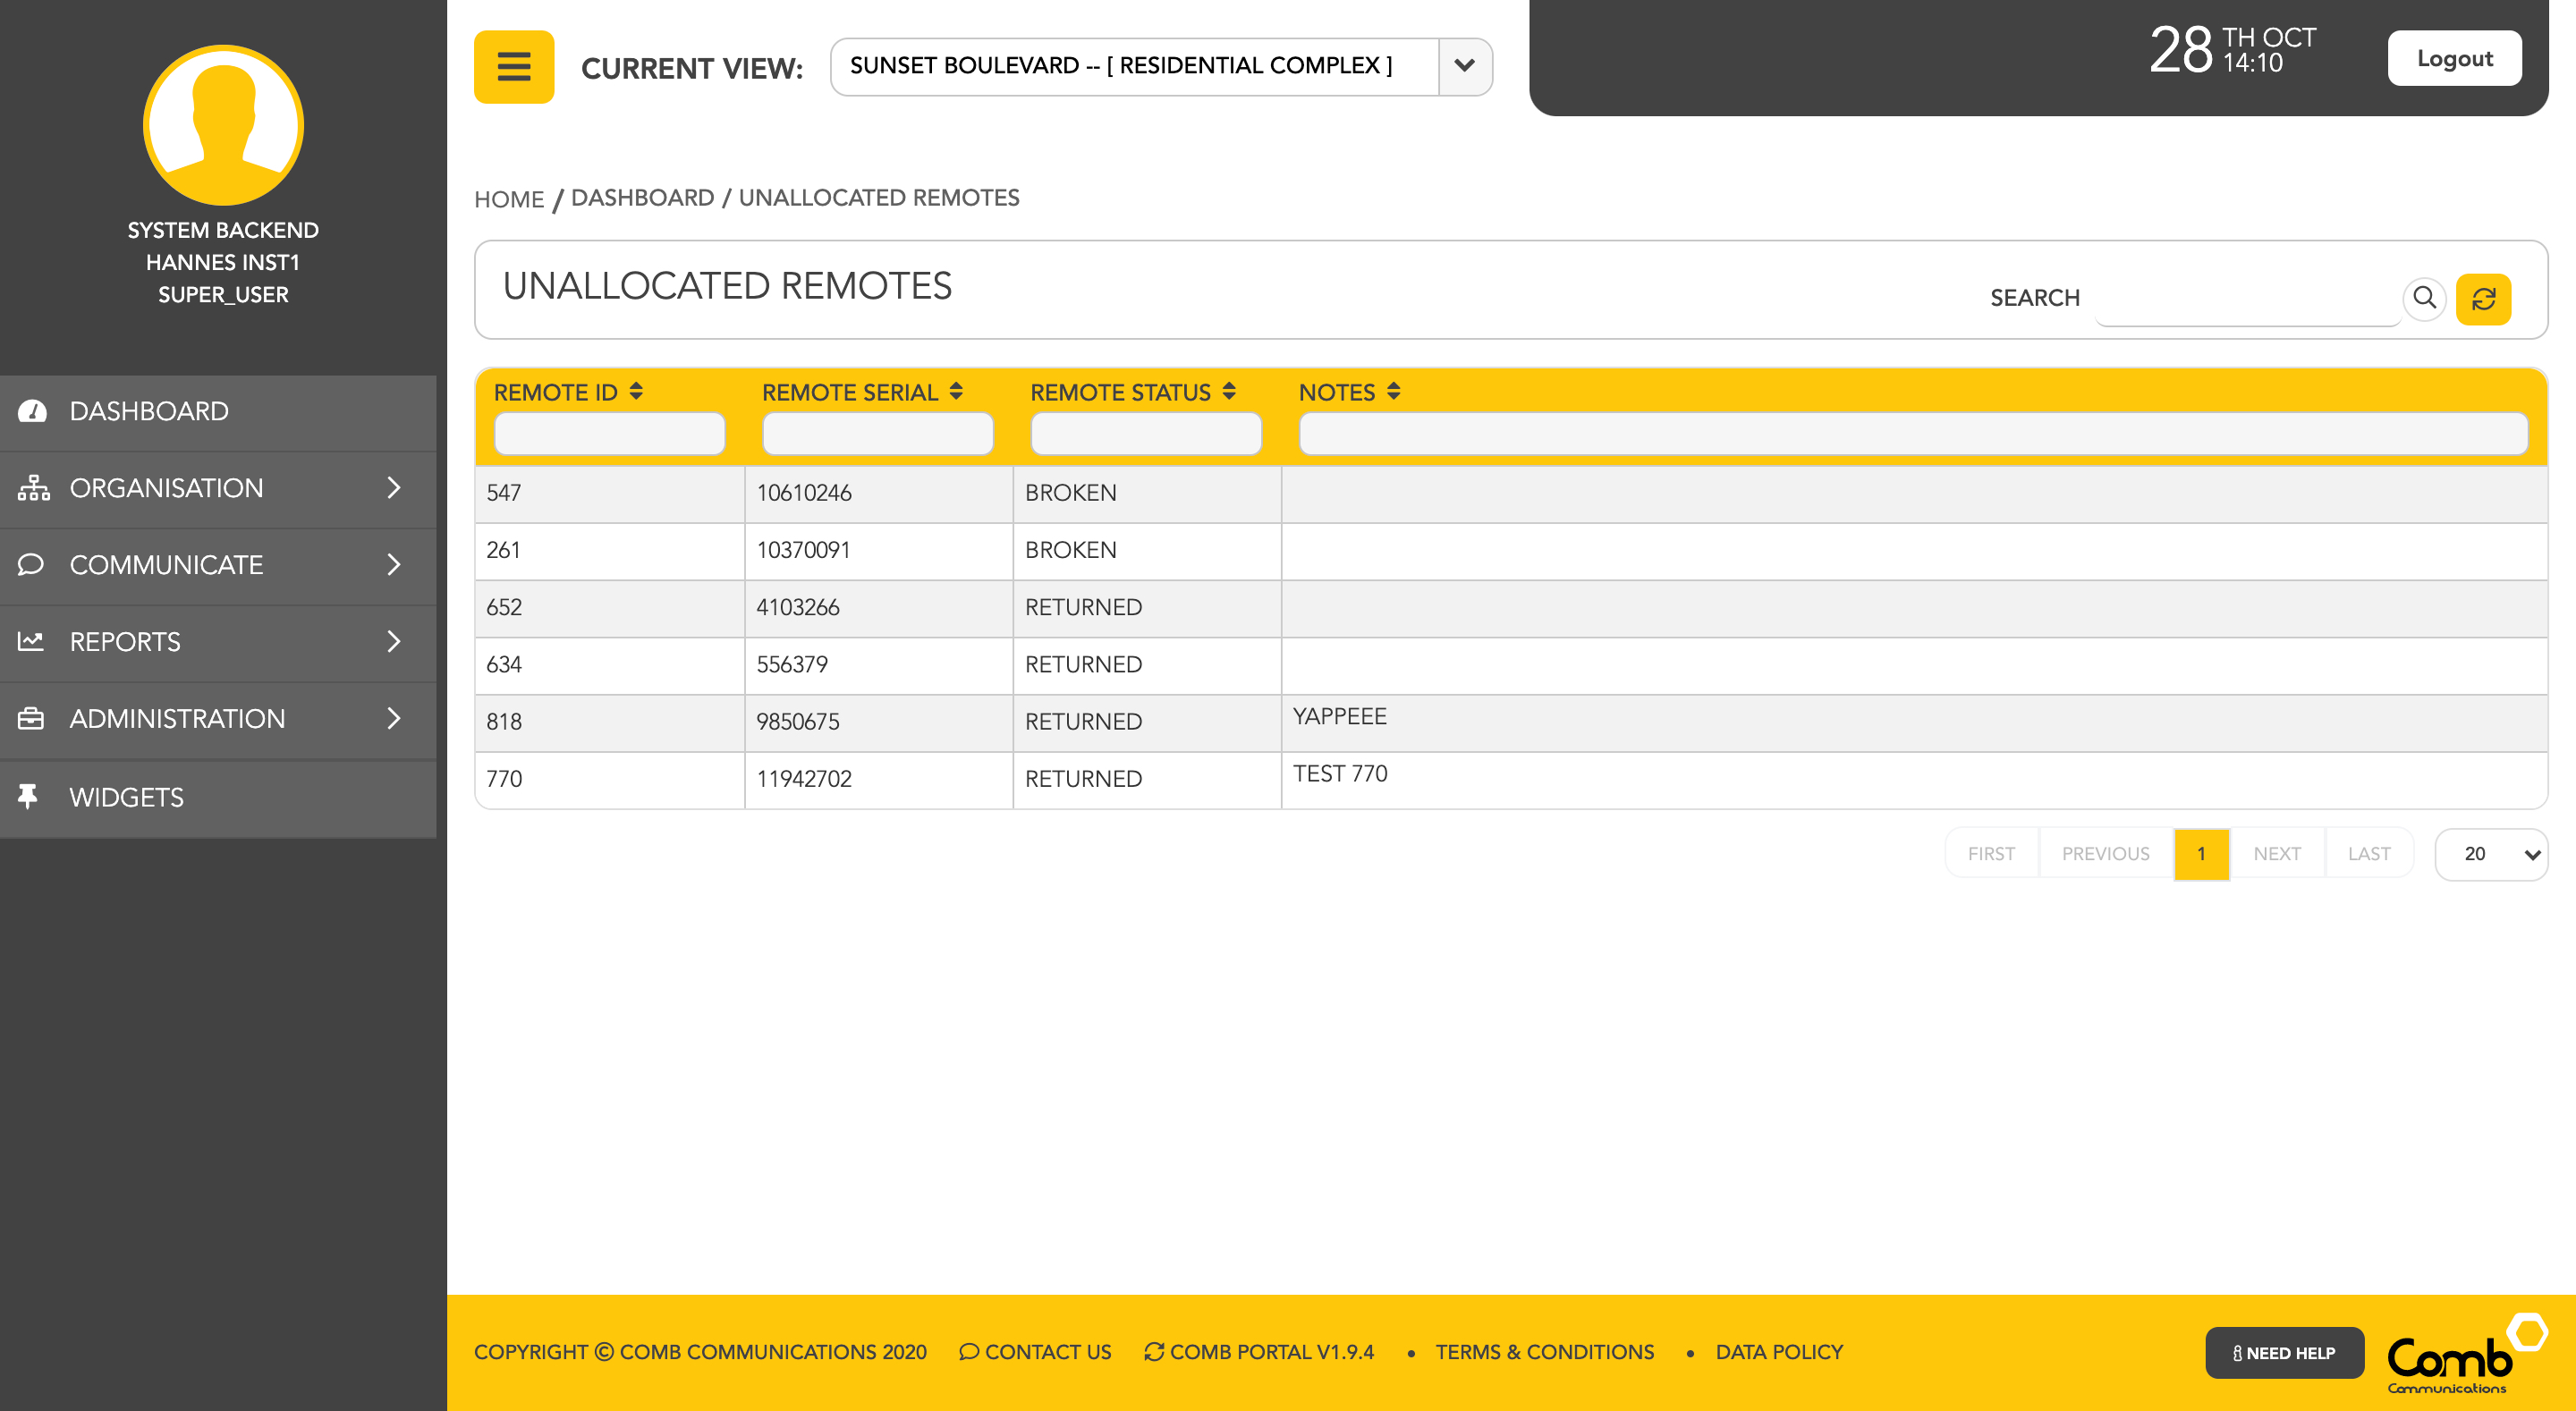
Congratulations! you have successfully assigned a remote to a person from the Trigger store.
Once allocated the remote will be removed from the Unallocated Remotes list and you can begin the process again.